November 29, 2011

DSC_0057
Be sure to check out the previous parts of this series:
Part I: Demo
Part II: More Demo
Part III: Repairing Subfloor
Part IV: Installing

Ok.  Wow.  Time to sand.

First… happy belated Thanksgiving!  This post was half-written when I left for some quality family time in Chicago over the holiday. 

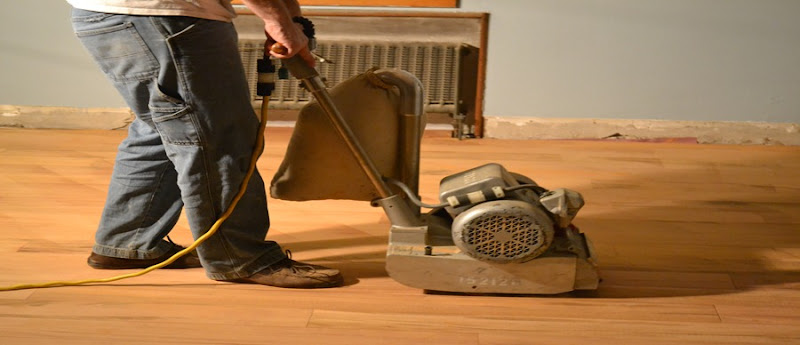
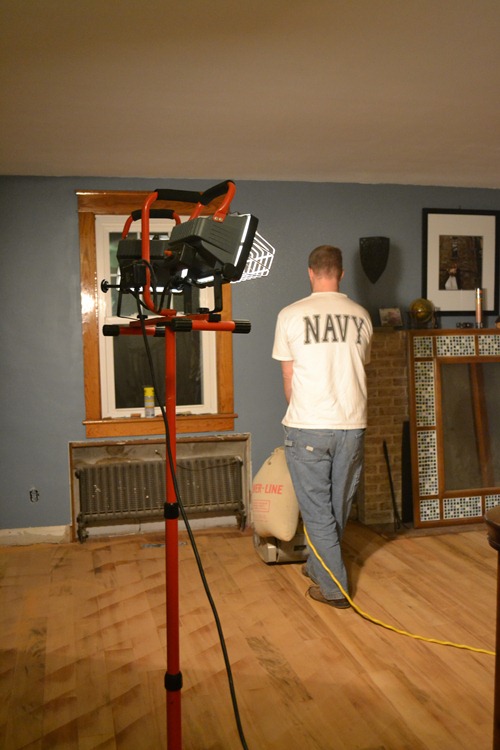
I found this article online about how to sand the floor.  It recommended that I start at a higher grit like 80, and sand diagonally across the floor.  This is to ensure that the floor is evenly sanded across the lateral seams.  That seemed odd to me, as I’d never sand like that on furniture.  But ok, I’ll take the pro’s advice.
DSC_0047

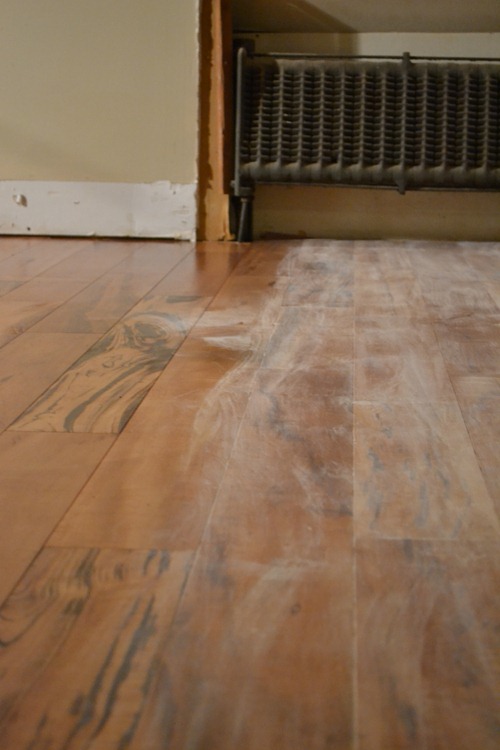
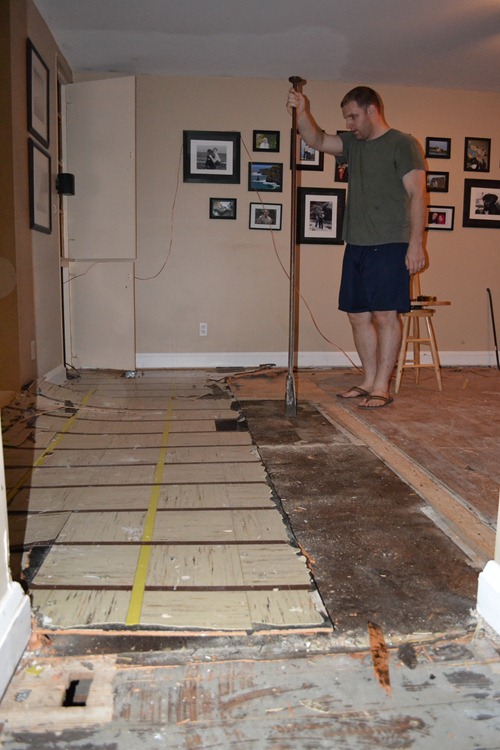
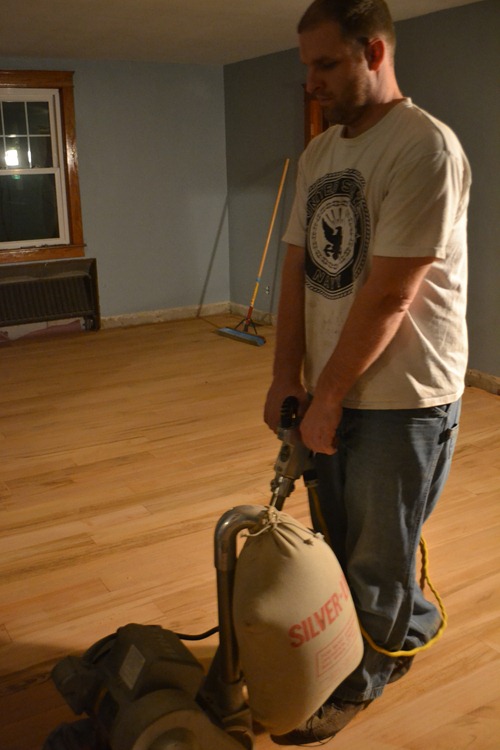
You can see in that picture that I’ve completed my diagonal sanding and have started the with-the-grain sanding.  I’ve moved to 100 grit sand paper, now.  It looks to me, as I’m sanding, that my diagonal lines are being sanded away as I go deeper into the wood.
DSC_0051

In that picture, you can’t even see any lines any more.    “Victory!”, I say to myself.   As we’ll learn later… this didn’t end up as the victory I thought it would.
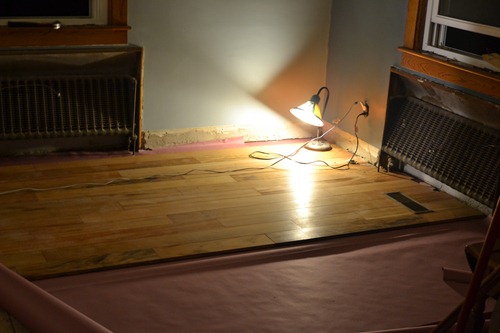
DSC_0055

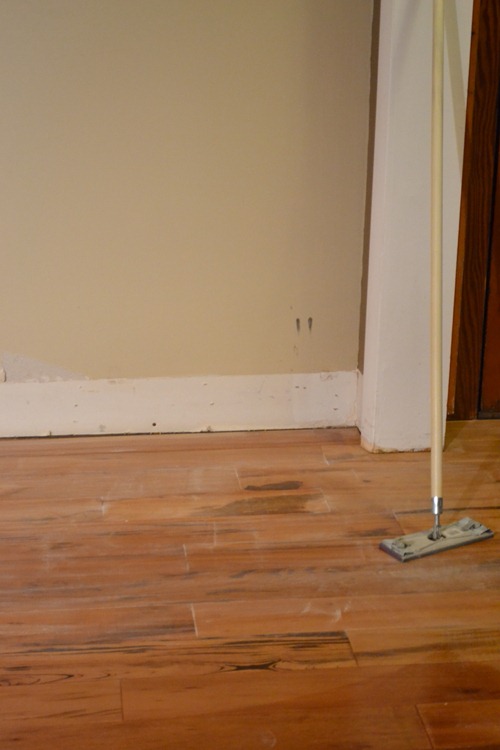
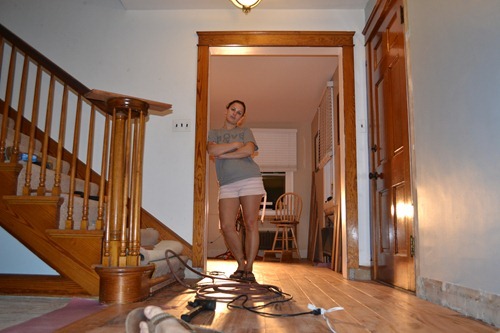
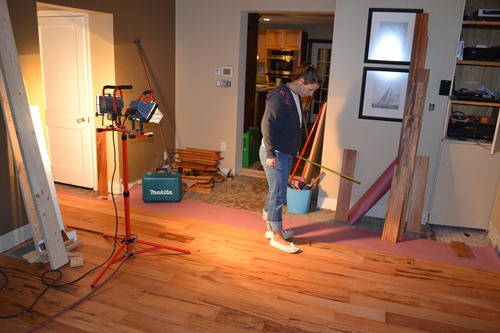
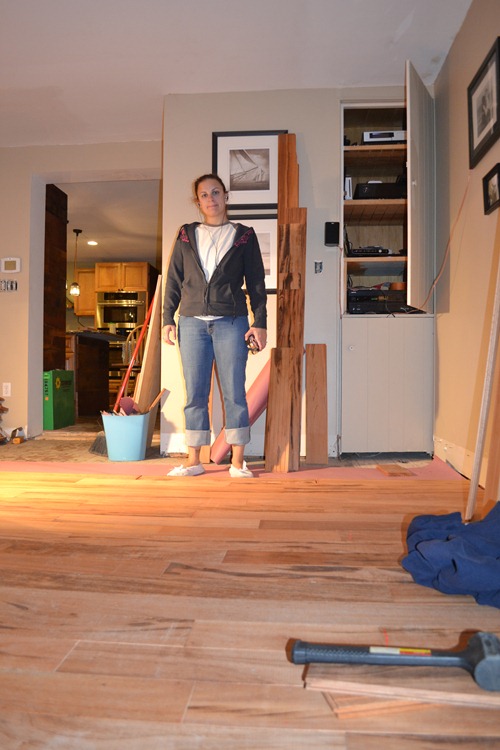
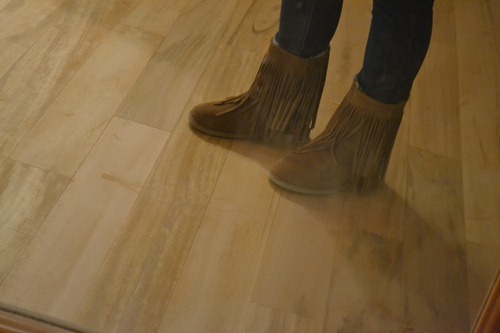
Dani takes a moment to both take a picture of the sanded floor and show off her new boots.  I don’t know what it is with women and boots these last few winters.  They’re not even boots!  They’re shoes with more space for frilly things. 

So after a lot of vacuuming, sweeping, and gentle mopping, I was ready for the finishing process.  We opted not to stain the floors.  We really liked the color of the wood in it’s natural state.  We also opted to go the environmentally friendly route and used a water-based system.  Minwax seemed to have a good system, and so I went with that.  It was not inexpensive.  Compared to the cost of the normal oil-based stuff, the water-based system is easily double.  But, I could put another coat on 2 hrs after the first coat, it cleans up with water, and my house didn’t smell for 3 weeks afterwards.  With the oil-based stuff, you’re supposed to sleep somewhere else for 3 days.  That’s crazy!  Who would want those chemicals seeping into their home? 

First step, then, was to put a coat of Minwax Water Based Polyurethane for Floors Base Coat on. 


The base coat, according to Minwax’s website, “seals the wood grain, preventing discoloration (tannin reaction) between the wood and Minwax® Water Based Polyurethane for Floors. Many water based finishes have a high pH level that can react with bare wood causing it to discolor.”

Mmmmmmk.  Sounds good.  The stuff went on easy enough, too.  I used a lambs wool applicator on a stick.  Pretty standard.

Two hours later, it was time for the first coat of poly. 


The Water Based Minwax Polyurethane for Floors poured nice and easy, and once I had a system worked out, it went pretty quick.  I found the best way to do it was to keep a bead of poly on the floor and to work with the grain, gradually moving the bead 6 inches at a time up the grain. 

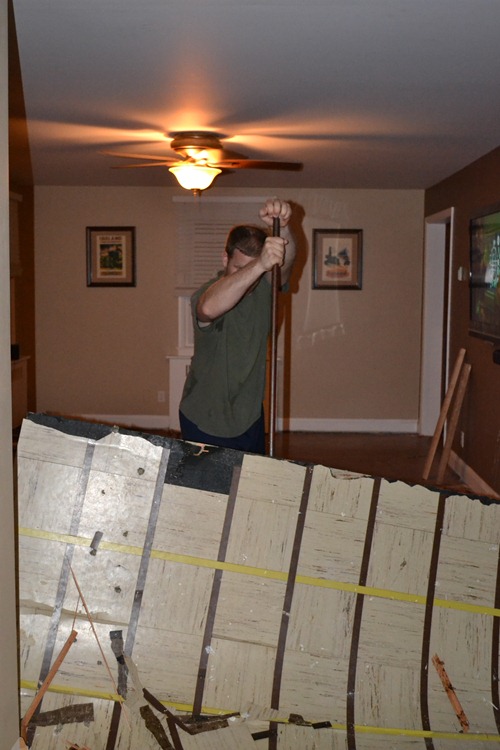
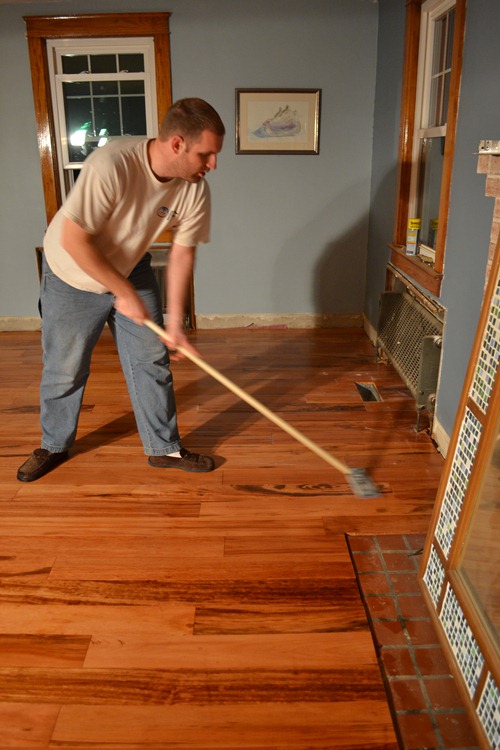
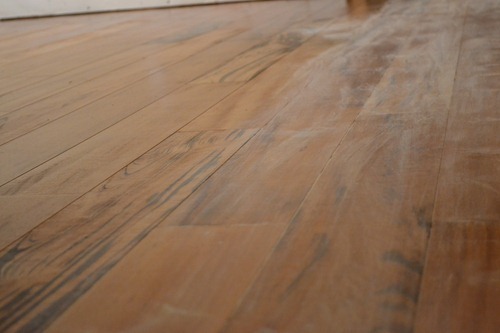
Once I had 2 coats on, I put some finishing sandpaper onto a drywall sanding pole and went around sanding for an hour.  This was the hardest part of the application process.. arms.  so.  tired.
DSC_0058

The sanding is to smooth out everything prior to the final coat.  I chose to do 2 more coats; I’m hoping it gives me a little more longevity. 
DSC_0062

DSC_0061


DSC_0065

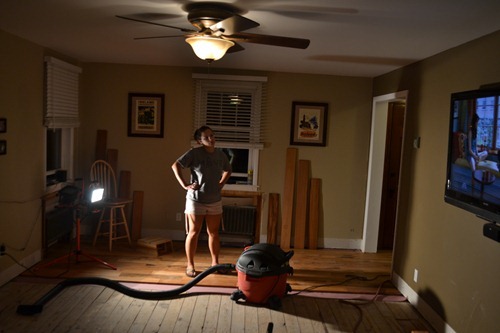
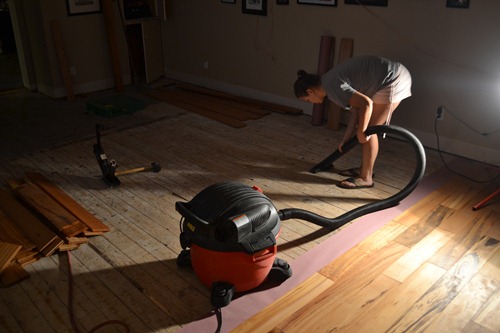
After the vigorous sanding, Dani worked her butt off to sweep and mop up the mess while I rested my sanding-weary arms.

DSC_0071

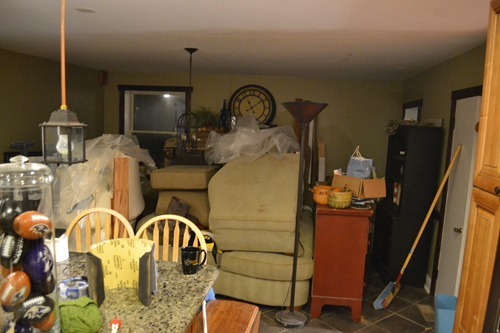
I also took the chance to snap this picture of the state of the kitchen during all this.  Ughh.
DSC_0072

Well this post got a little longer than I anticipated.  I think I’ll keep you all in suspense and do The Reveal in a separate post.  So check back soon for the last post in the New Flooring series!
Read More

November 21, 2011

If you haven’t already, check out part 1, part 2, and part 3 where I remove the old flooring, bleed from my fingers, put a toilet in the yard, and cut a hole into my house.

Installed flooring?  Yeah.  That’s what’s up. 

DSC_1112
DSC_1110

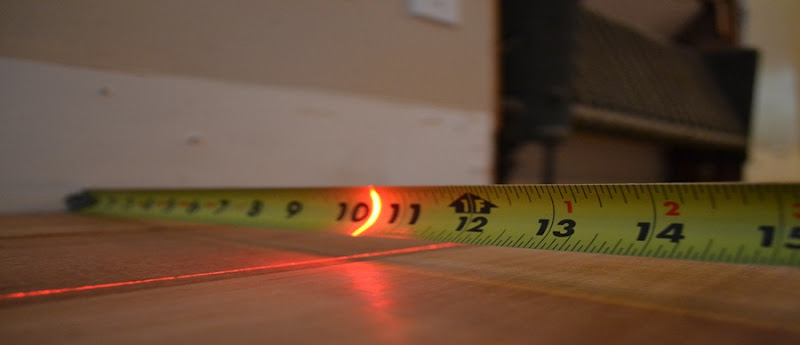
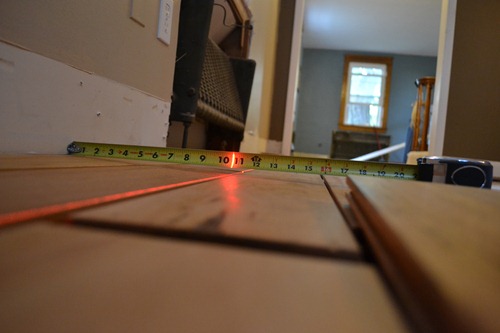
After some intense cleanup, I used my new laser line draw thing to put a line all the way across the house.  The thing is, it’s really important to get this line straight.  So buy the laser.  It doesn’t hurt that it’s a laser and fun to play with.  It freaks the crap out of animals.

The first night, I only got one row of flooring in.  I really really really didn’t want to mess up that first row.  Day two got us a bit further along.

DSC_1125

We are watching New Girl right here.  Dani needs to ensure that Zooey and I don’t run off together.

DSC_1132

Always more to clean when you are doing this.  Chunks of debris under flooring leads to creaks and lumps that will drive you insane the rest of your life.  My dad will vouch for this one.

Installing the floor pieces isn’t what takes the most time.  It’s the “little” stuff that does that.  Like finding just the right piece of flooring for the spot you are in, or trimming the base around door frames and entry ways.

DSC_1117

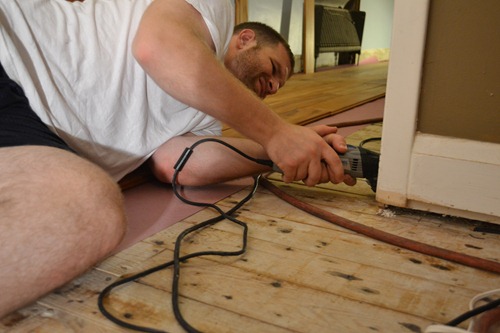
The vibrating dremel tool was a huge time saver, here. 

At the end of day two, Dani and I did a lot of strolling back and forth on our 45 sq ft of installed floor.  It felt very regal.  We should have spoke with our very practiced high class English accents.  We may have waltzed.  Ok, that’s a lie.  I have no idea how to waltz; it’s been a long time since I was forced to learn during High School PE class. 

DSC_1126

DSC_1131

When day 3 came along, I had some reinforcements.  Eric came down from PA to help for a day and we made a lot of progress.   I think the last time Eric showed up here at My Dad’s Shoes is when he fried a turkey and didn’t burn down the house.

DSC_1145

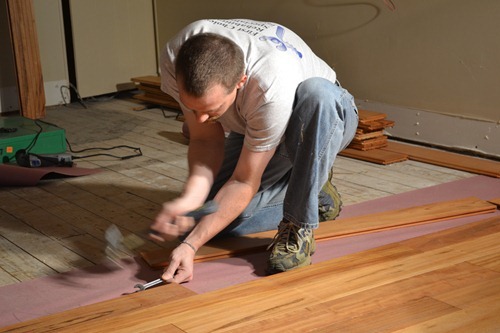
What Eric is doing, here, is using a wrench and a hammer to convince a stray nail that it wants to go the rest of the way into the floor.  We had to do a lot of this.  Being vigilant in finding the nails that stick up just a bit too much will save a lot of frustration when you find bumps in the floor.  So, yes.. progress was made with Eric’s extra set of hands.  But progress does not come without blood in this house.

DSC_1151

DSC_1152

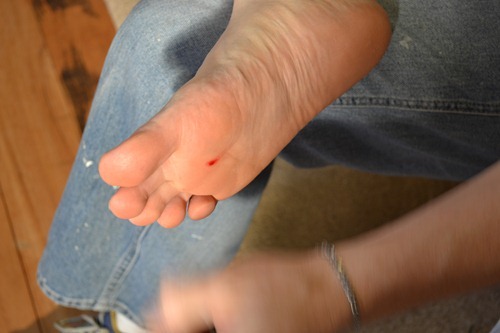
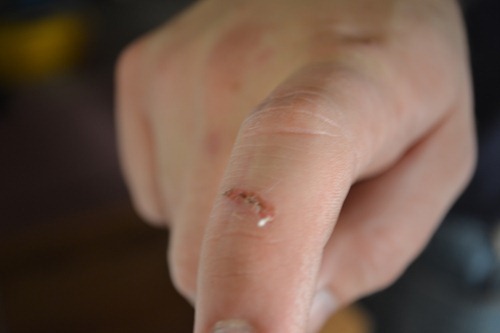
Eric stepped on a nail, and I had a Dremel tool nearly take off my finger tip.  But hey, ‘close’ only counts in golf and nuclear warfare, right?


DSC_1153

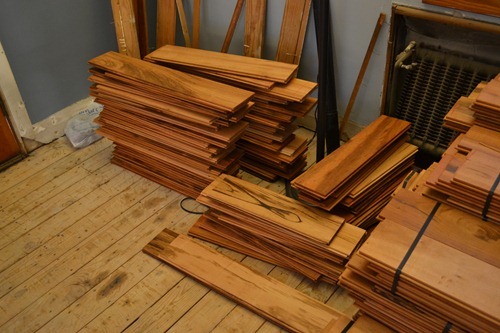
See that stack of short pieces against the wall?  Now is a good of time as any to say that an odd lot of flooring sucks.  But, given the amount of savings, it’s worth it.  My waste factor was higher, my frustration level was way higher, and I have a lot more seams than I’d like.  I also have a fair number of pieces of flooring installed that taper in width, but I didn’t catch it until it was too late.  But, at 1/3rd the cost, it’s still well worth it.  Buy an extra 5 to 10% waste. 

DSC_1159

Let me just point out to the lady readers that it’s hot when women use a tape measure.   Hot.  Dani still has a number of tricks to keep me from Zooey.  Tool-use is a strong one.

DSC_1142

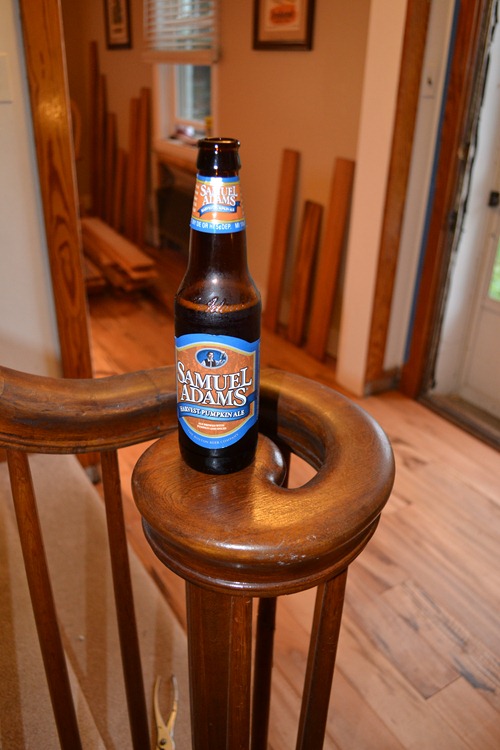
Speaking of things worth their cost; this is one epic beer.  I wish I had an opportunity to get more of them before they vanished for the season.

DSC_1161

A couple more hours of work after this last shot and we had our new floor completely installed.  This is still no where near the end of this project.  More to come!
Read More

November 19, 2011

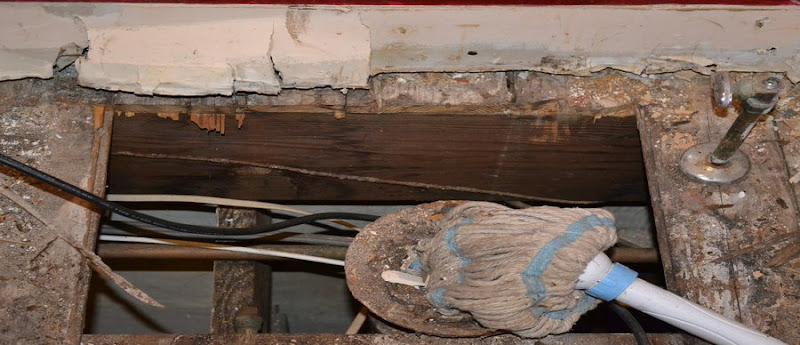
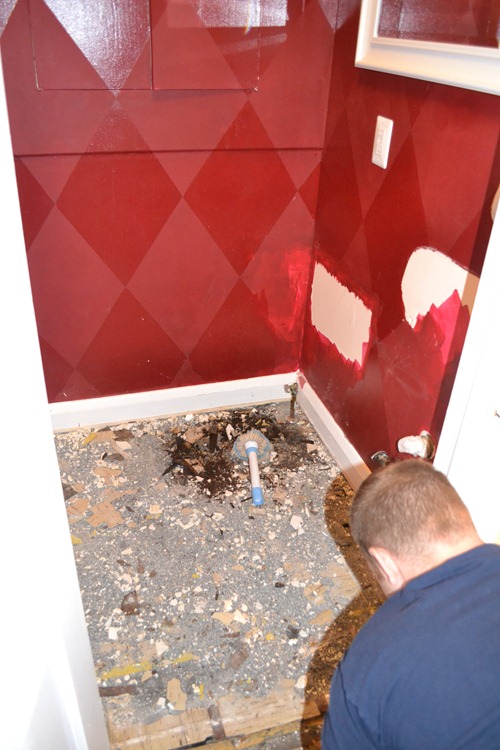
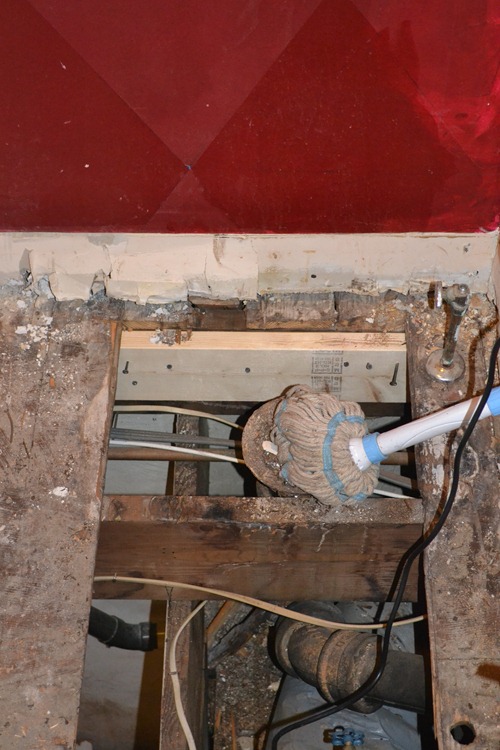
I mentioned in part 2 of this project that I found a lot of floor rot surrounding the toilet in the bathroom when I removed the contractor grade tile and the 2 layers of linoleum underneath it.
rsz_dsc_1169

DSC_1147

The linoleum is still in the room in that picture, but the rot is already evident.  The tears.  You can't see my face because I'm hiding the tears.

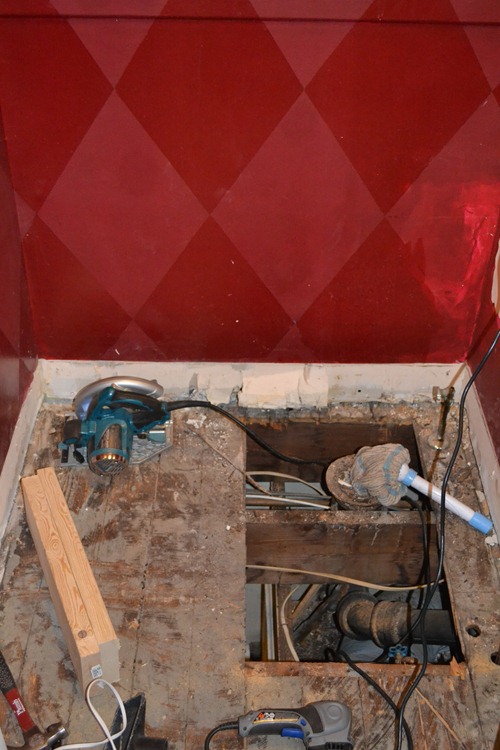
Time for some repair. Another opportunity to use my sweet new circular saw.  Wood runs in fear.  So do the dogs.

Up first; cut a huge hole in the floor into the basement.  When you cut a whole into your house that opens up one floor to another, it’s a bit… disconcerting.  There is suppose to be a floor there.  Not a hole.  It really messes with your perception of how a house works.

DSC_1168

Now that I have the floor open, I need to put in a new sister joist against that back wall so that I have something solid to anchor the new subfloor to.

DSC_1167

I picked up a 2x6 and some 3/4” plywood from Home Depot and cut them to fit.

DSC_1170

Lets.. umm.. let's not talk about those random screws, there.  Look, the angles of approach were pretty limited and the smell isn't pleasant.  Moving on.
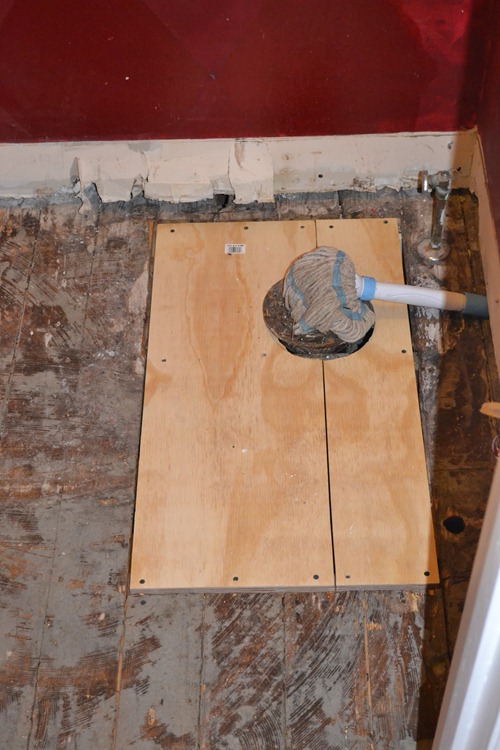
With the new sister joist in place, I ripped the plywood that I had cut to size in half, and then used my dremel tool to cut a half-circle in each one of the halves.  After that, I simply put the halves in place and screwed them home.

DSC_1171

There are some things I didn’t do correctly, here.  It would have been smarter to raise the toilet flange at this point.  However, that sucker is solid and it isn’t budging.  I would’ve had to replace the whole drain line to do it correctly, and I didn’t have the time, patience, or desire to do so.  Instead, I’ll use a spacer when I go to install the toilet. 

But I’m happy with the end result, and now I can carry on to the next step… hardwood installation!
Read More

November 17, 2011

DSC_0546
I know it’s been a while since I wrote on the flooring project.  It has been incredibly time-consuming, I’ll tell you that.  It’s the sort of project that you can’t ignore.  When I come home from work and find couches stacked on top of more couches in my kitchen, it’s a not-so-gentle reminder to get off my ass.  Which, ironically, I couldn’t have been on in the first place since all the couches are stacked in the kitchen

When last I spoke of it, I had really just started on ripping out the old floor.  Well, I did a lot more of that, and true to form, there was a fair amount of bleeding and yelling and wall damage.

DSC_0534

DSC_0540

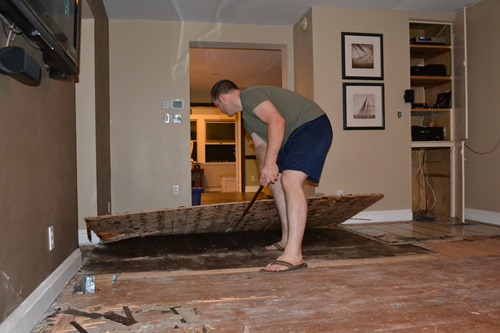
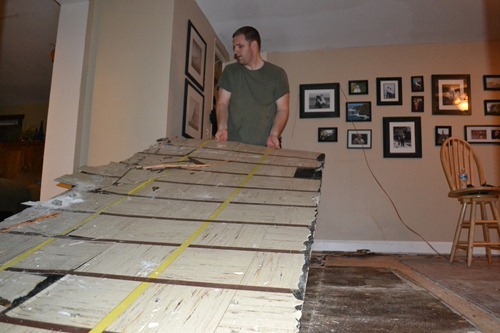
I used a digging bar to get these sheets of laminate and backer board up.  It worked wonders.  The bar is very heavy.  I had some sore man-boobs.

DSC_0536

DSC_0541

This is another great example of when to wear gloves.  The nails on the bottom of these sheets put a few holes in my fingers.  I was wearing gloves until I ripped a few glove-tips off on nails, and then discarded them.  I ended up duck-taping over the ripped fingers and putting them back on, because I can only be stupid for so long.  Speaking of stupid.. I’m wearing flip-flops.  This is actually a step up from where I started; which was barefoot.  I’m a no-shoes-on-in-house guy, and it took a little time for my mind to transition from “you’re in the house” to “you’re in a construction zone”.

DSC_0549

Here you can see where the dividing wall was when the house was built.  The wooden floor used to be the dining room, and where there is no wooden floor, there was an extra layer of old-school linoleum, because it was the original kitchen.  We’re talking like three kitchen-additions ago, here. 

photo

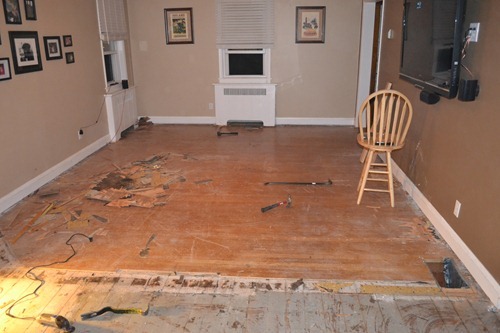
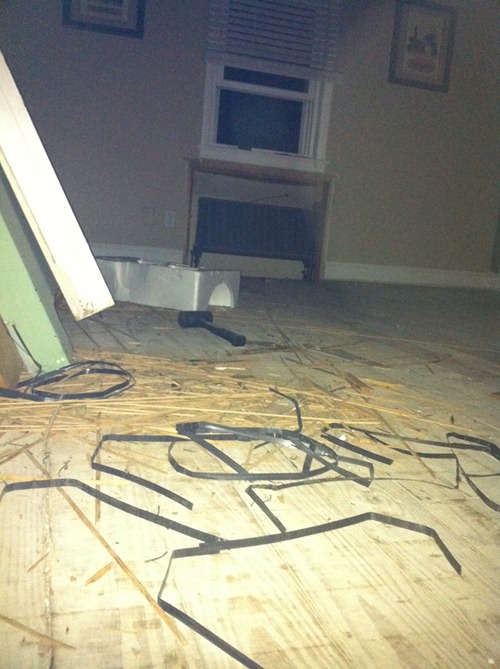
Apparently I neglected to take (or can’t find) pictures of the stripped-bare floor.  This one is off of my phone.  You get the idea.  I had to take all the radiator covers off to get at the flooring underneath them.  Now the whole subfloor is exposed, though.  It’s tongue-and-groove 3/4” planks.  I went around and pounded in some nails that had wiggled their way loose over the last 75 yrs.  Overall, the floor was in good shape.  Except for the bathroom.

DSC_1147

Yeah, that’s floor rot.  All around the toilet.  It was an unwelcome discovery after removing the toilet, sink, and all the contractor-grade tile.  I could push my hammer right through the wood.  I’ll probably do a brief post later on how I fixed that.

At this point, I’ve got all 800-some-odd sq ft of old flooring ripped out and piled in front of the front door, including carpeting, padding, the original hardwood, and two layers of laminate.   Most of it is still there.  Along with a toilet.  [sigh].  I’m that guy, now.

Next up; prepping for and doing the install!
Read More

November 16, 2011

DSC_1101

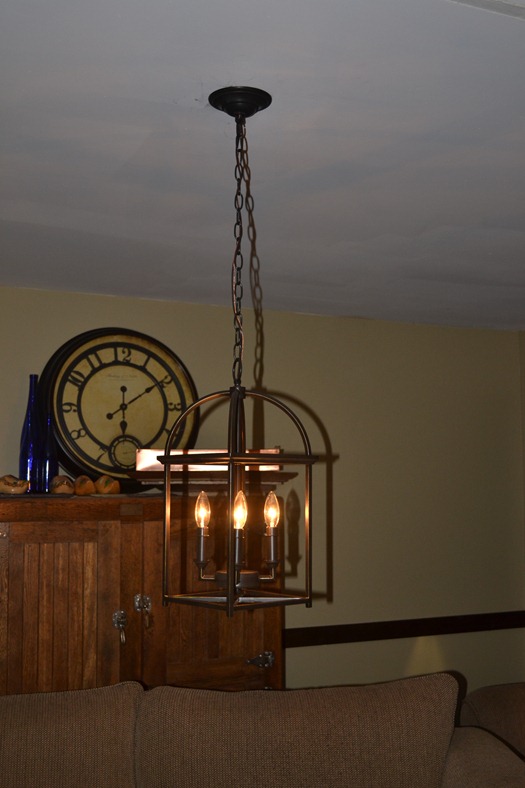
Remember back when Dani did her (still unfinished!) house tour?  She mentioned this ugly 1980’s gold chandelier on her list of still-to-change in the kitchen.


It’s really the last remnant of the old kitchen.


Ugh.  I cannot believe that is the same room. 


So.  Anyway.  I went to Home Depot and they had a clearance table for lighting.  Clearance tables at Homies are both beautiful and deadly at the same time.  It’s like one of those mosquito zapper things. 


There on the table was a light that we had both really liked when we saw it on display a month or two earlier.  At the time, it was retailing for over $200.00.  When I saw it’s new price, I snapped a picture of it and sent it to Dani.  Her reaction was.. well.. she told me to geri t, and I believe she wanted me to expedite that process.


text_convo


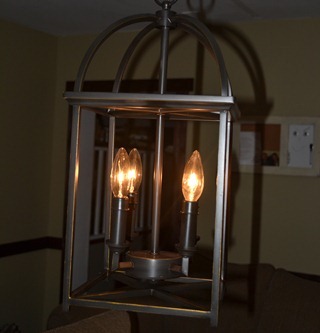
Do you see that price sticker?!  That’s like a billion percent off.  Once I geri t’d it home, we hung it up, and with that, we have now purged the last of the old kitchen from the house. 


DSC_1102


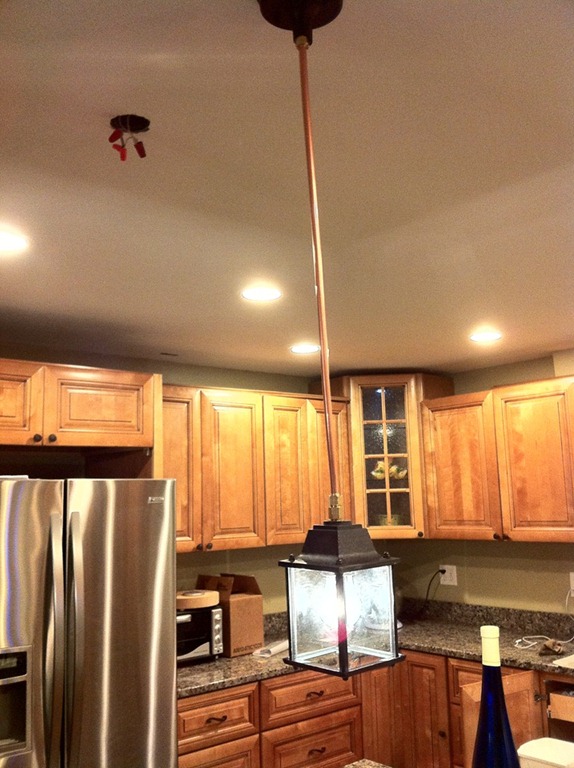
I left some extra chain because the box for the light isn’t centered in the room, and I may put a little dangle in the chain and attach it to the ceiling so that the light will be centered.


We both think that this new light complements the pendant lights I made


What do you think?

Read More

November 1, 2011

Ok… just a quick post to get this ball rolling again.  It’s been a busy fall over here.  We have the ongoing flooring project at home, which I’ll update everyone on at a later date.  The big news, though, is this: Dani and I have recently acquired another house full of projects. 

Let's just let that sink in for minute.

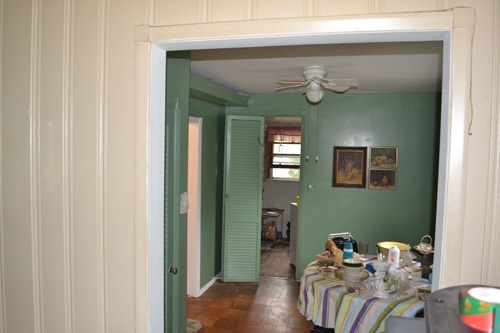
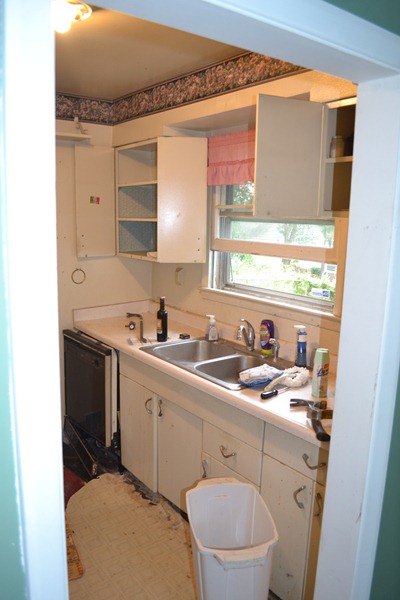
We’re renovating a house in Pikesville, MD, in order to rent it out.  Because, hey.. one house full of projects isn't enough!  It hasn’t had many updates since being built in 1956ish, and we’re on an abbreviated time scale trying to get things done over there.  The process of acquiring it and beginning demo has taken most of my free time of late, hence the lack of any new content, here.

DSC_1079

DSC_1068

I’ve got some early demo photos to share, though!  Everybody loves demo.

DSC_1066

DSC_1065

Here we have the kitchen; early-demo.  The cabinets are old-school metal ones.  The floor has 3 layers, and I was incredibly nervous of floor-rot underneath it.  It turned out to be in great shape, though.

DSC_1069
DSC_1074

DSC_1075

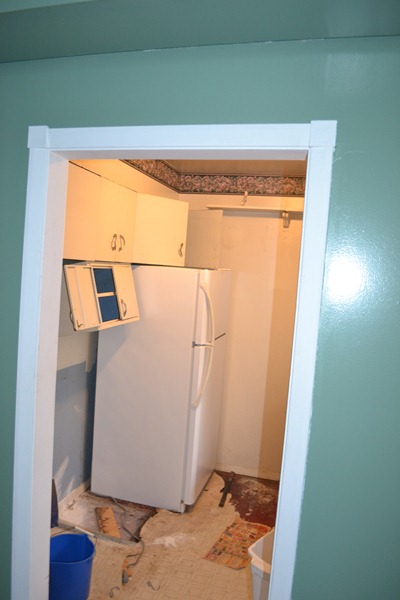
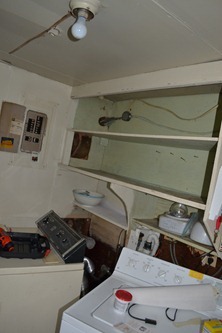
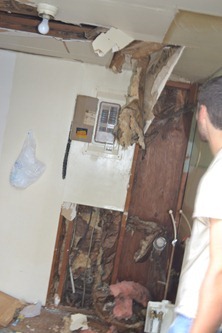
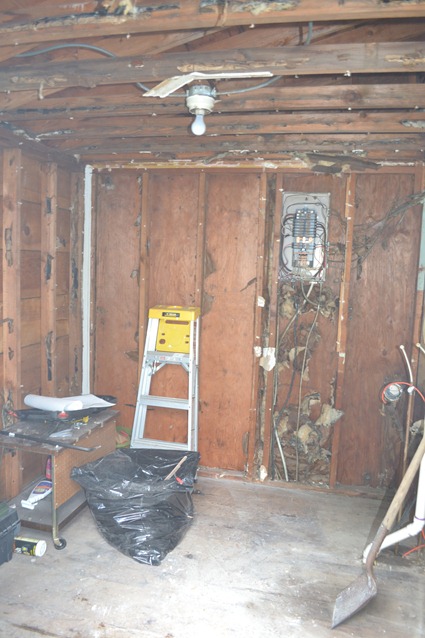
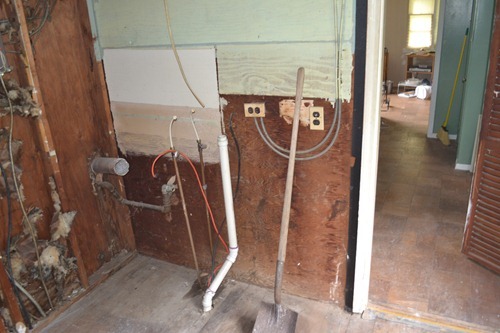
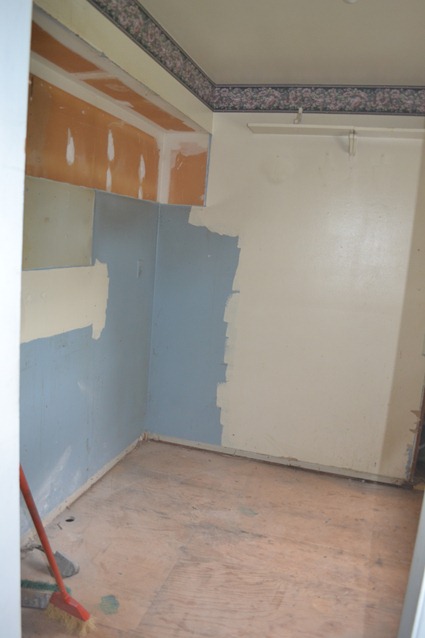
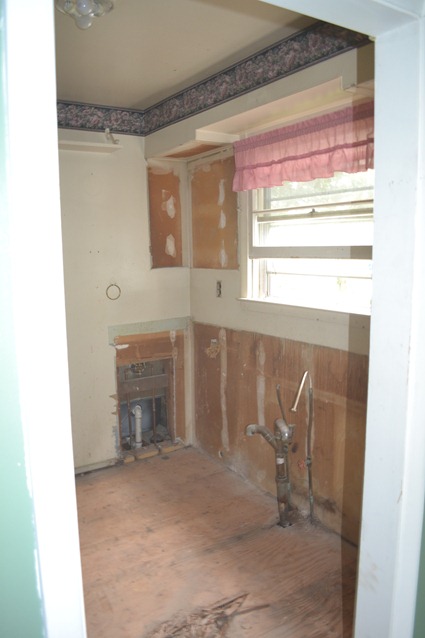
And here is the pre and post-demo of the utility room.  Our plans, here, are to update the electrical and plumbing, new walls, cabinets against the back wall, and something neat for the ceiling….

DSC_1076

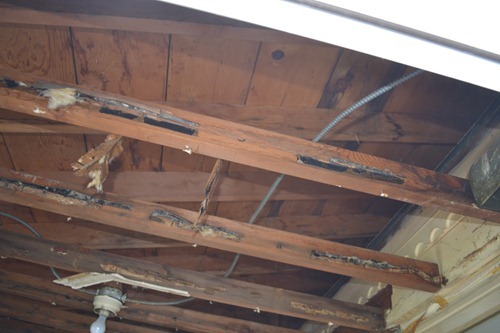
We’re removing these ceiling joists and building a new bump-out wall against the exterior of the original house.  This will go all the way up, and tie the utility room addition to the exterior of the house to recoup the strength we’re losing by removing these ceiling joists.  Then we’ll have a nice tall ceiling that will give this space some breathing room and make it feel bigger.

DSC_1077

This is where the new bumped out wall will go. 

DSC_1080

DSC_1081

And lastly, the partly-demo’d kitchen.  A long way to go in these two rooms, but it is where the bulk of the work is happening for right now.  Over the next couple of months I’ll be redoing the electrical and plumbing, walls, ceilings, cabinets, lights, sinks, appliances… this all feels so familiar!
Read More
Powered by Blogger.