Showing posts with label cabinets. Show all posts

August 8, 2011

DSC_0518


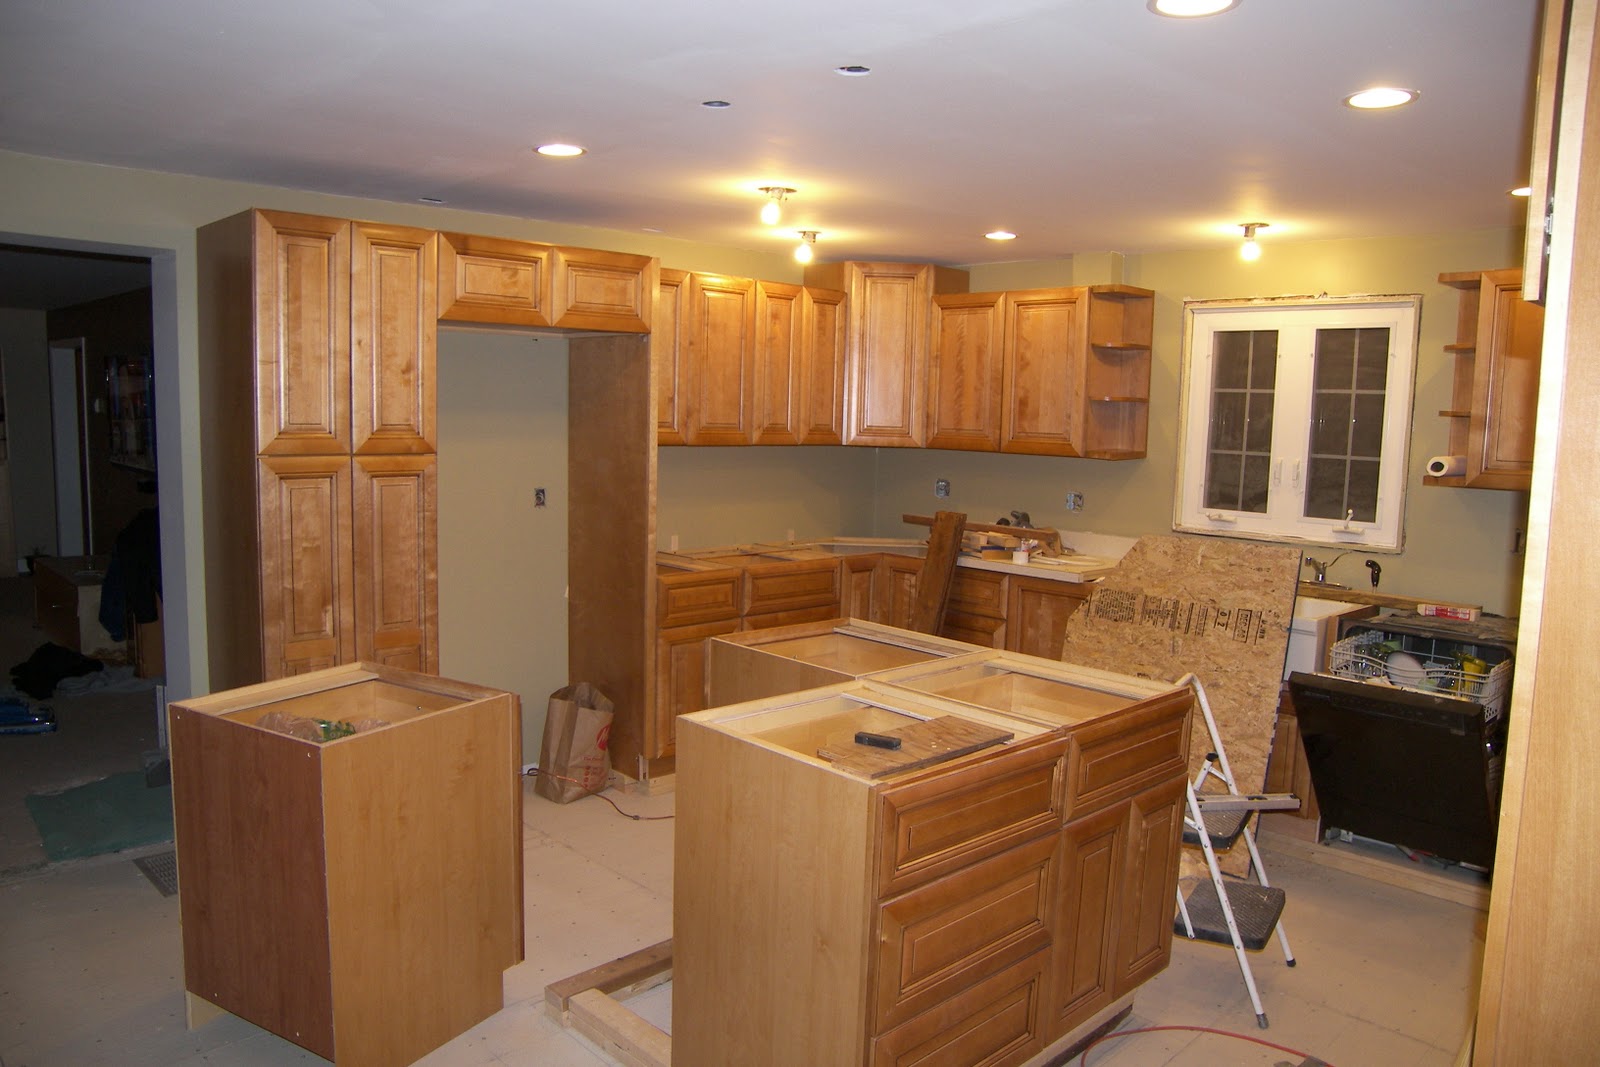
The exposed ends of the cabinets and of the island were always intended to be stone veneer.  I’ve priced out the cost for the amount of stone I would need and it’s about $500.00.  There always seems to be something better I can spend 500 bones on. 


Last Fall, Dani’s employer decided that she no longer wanted a large display unit in the salon.  She said if I would get it out of there, I could have it.  The unit was made entirely of reclaimed barn wood, so I jumped at the chance to snag it.  I disassembled it and brought it home, and stacked it under the car port to keep the weather off of it.  I figured since it’s super-old barn wood, it would do just fine.  That did not turn out to be the case.  When I moved it earlier this month, this is what I found:


DSC_0525


My awesome barn wood had been eaten.  Pretty thoroughly.  About 30% of the surface area of all the wood had been badly marred by some kind of beetle, I think.  I found oblong-shaped empty eggs in these holes.  I had intended to use this wood to make some really nice furniture for the living room, but that option was taken away.  Dani had a bright, idea, though.  Maybe this would work for the ends of the cabinets in the kitchen.  So here is my usable barnwood.


DSC_0520


Although I couldn’t find a single bug anywhere on or in the wood, I bug-bombed it anyway.  Then I used my compressor to blow out any remnants of anything that might be in those holes. 


After a quick photoshop to see how it would look in the kitchen, I decided to give it a go.  I cut some pieces and dry-fit them, and I was liking it so far.


 DSC_0519


So I cut the rest of the pieces, spray a few coats of polyurethane over them, and used my nail gun to put them in.  Here’s the results.


DSC_0534  DSC_0531


DSC_0533


I can’t say that I’m head-over-heels in love with it, but I do really like it.  It fits the rustic motif and, here’s the best part, it was free.  It cost me zero dollars and about 3 hours time to cut, clear-coat, and install.


One more thing off the list for the not-yet-done-kitchen.

Read More

February 10, 2010

The counter-top Range is in.. at least temporarily.  I made an opening in a piece of OSB and hooked it up.  And what will we inaugurate it with?  Mac and Cheese!    Also.. stuff in cabinets!


Read More

January 27, 2010

First cabinets go in! First up is the corner upper cabinets.  You have to do these first for pretty obvious reasons...

  1. You can't start at the end of the row because the corner likely won't fit correctly
  2. You can't start with the lowers first because it would make putting the uppers in far too difficult.


Here, we are carefully measuring the back of the cabinet for a couple of reasons.  Firstly, we need to know where to mount it to the studs.  What we did was to find the studs in the wall, measure from the corner to the middle of the stud, and then use the measurement to find that same place on the back of the cabinet.  Once we had it, we drilled some pilot holes.  Secondly, we measured for the hole to pass the romex through.  You can see it hanging out of the wall in the picture.  There are two strands; one goes into the corner cabinet for in-cabinet lighting.  Eventually, we'll be putting glass in those doors.  The second strand will go into the next cabinet over to feed a supply for under-cabinet lighting.  It's worth pointing out that I've put switches in place that feed each of these lines. 
Lessoned Learned: I should have put the strand for the in-cabinet lighting on top of the cabinet instead of inside.  Now I have to try to hide the hole.


Once all of the uppers had their pilot holes drilled, we installed the ledger bar. 
I read about this on the web.  Dad had never put in cabinets without a soffit before, and I had never put in cabinets at all before.  This ledger bar made the whole thing possible. Basically, put some 2x4's up on the wall at the correct height, and make it level.
Lessons Learned: Two on this one.  I should have focused more on making the ledger bar an equal distance from the ceiling instead of perfectly level.  Why?  Because it's an old house, and nothing else is perfectly level, no matter how hard we tried to make it so.  Second, I should not have gone so tight to the wall w/ the ledger bar.  It caused drywall screw heads to pop, and I have to fix them at some point in the future.

The ever-reliable Jessie and Jamie
We jumped a few days ahead here.  The ever-reliable Jessie and Jamie came over to help get some more upper cabinets in.  And now I get to share a little secret design idea of mine visible in this last picture.  We built a 2x4 base under the all of the base cabinets.  Since 2x4s are really 1.5" thick, and we stacked two of them, this gives all of our cabinets a 3" lift.  This is awesome!  Since all the men in my family are over 6', this was a no-brainer for me.  My wife, at 5'4", took a little convincing, but she was totally sold the first time she used the sink.   It was also great because we were able to run some PEX for the pot-filler over the stove and also the venting tube for the range hood.

Read More

January 9, 2010

The fateful day is here.  It is time to start demolition.  We bought a WonderBar and a wrecking bar, and attacked them with a deadly fury. 


 First Cabinet is out!

 And there it sits

At this point I'm still trying to save the lowers.  I give up eventually.

That thing came down a bit scary.  My wife had a very concerned look on her face as I rocked it back and forth, slowly loosening it from its moorings.  I placed a couple cabinets we'd already removed on the opposite side I pushed from, so that it would have something to land on.  I just kept prying at that thing until, at last, I threw down my enemy and smote his ruin upon the mountainside. 

Just in case we still want to make some tea.


After knocking the thing over, I found this where the Fluorescent under-cab lighting was.  It's all charred and brittle.  Too close!  I threw the ballast from the light into the trash pile right away so I wouldn't mistakenly use it somewhere else.
A buddy Jessie had some fun taking out this piece.  I ended up destroying it later.

Notice the lack of subfloor under the cabinets?  Just the original planks.

That took about 3 days of after-work destruction.

Many gallons of midnight oil were spent, here.  I'm glad to see that picture, though.
Read More

December 29, 2009

I had my cabinets and some appliances shipped to a friend's house in Delaware to avoid the 900.00 in sales tax I would have had to pay here in MD.  This felt morally ambiguous at first, but then I decided it's the same as shopping at the outlet malls in DE, and then I felt fine about it.   And so then I spent that 900.00 on a trailer to pull the cabinets and appliances home with.  My brother volunteered was coerced into coming along to help, and off we went.  The FedEx guy met us about an hour after we got there.  We unloaded from his truck and off he went, leaving us to try to figure out how the heck to load all these things up onto my 6x12 trailer and the back of the minvan I borrowed to pull it with.  Our faithful little Wrangler doesn't have the towing capacity to pull this thing fully loaded because of its short wheel base.  We decided to un-palletize most of the cabinets and play a little Tetris with them.  When we finally got all the cabinets and appliances onto the trailer and into the van, I graduall started raising the trailer tongue support and watched as the shocks of the van bottomed out.  It was clear this was not going to work.  We borrowed an F-150 from a friend out there, and pulled it home with that.  This was what it looked like shortly before hitting the road.
12ft high!


It was a bit scary.  And stupid.  But hey, I was committed at this point; no turning back.  Just to make it more interesting, the Bay Bridge had high-wind warnings, so we opted to go the long way north.  Once we made it home, all the cabinets were unloaded into the garage and then I turned back around and drove the 3 hrs back to Delaware to return the truck and bring back the van.  A LONG day.
Read More
Powered by Blogger.